Repairing a Loose Arbor on a Colt Open Top Replica Revolver
Steps in Repairing a Colt Open Top Replica Loose Arbor
This procedure addresses a loose arbor-to-frame connection on Colt Open Top replicas (1851, 1860, 1871-72, etc.). In this scenario, the arbor threads are loose within the standing breech (recoil shield), causing side-to-side or up and down wobble or rotation, which degrades accuracy and can lead to mechanical failure.
There are two primary methods for repair: the Factory-Style Restoration (cleaning, retorquing, and re-pinning) and the Set Screw Modification (a more durable, shooter-grade fix).
Method 1: The Factory-Style Restoration (Loctite & Re-Pin)
This method restores the revolver to its original mechanical configuration but uses modern adhesives to compensate for thread tolerance issues.
1. Removal
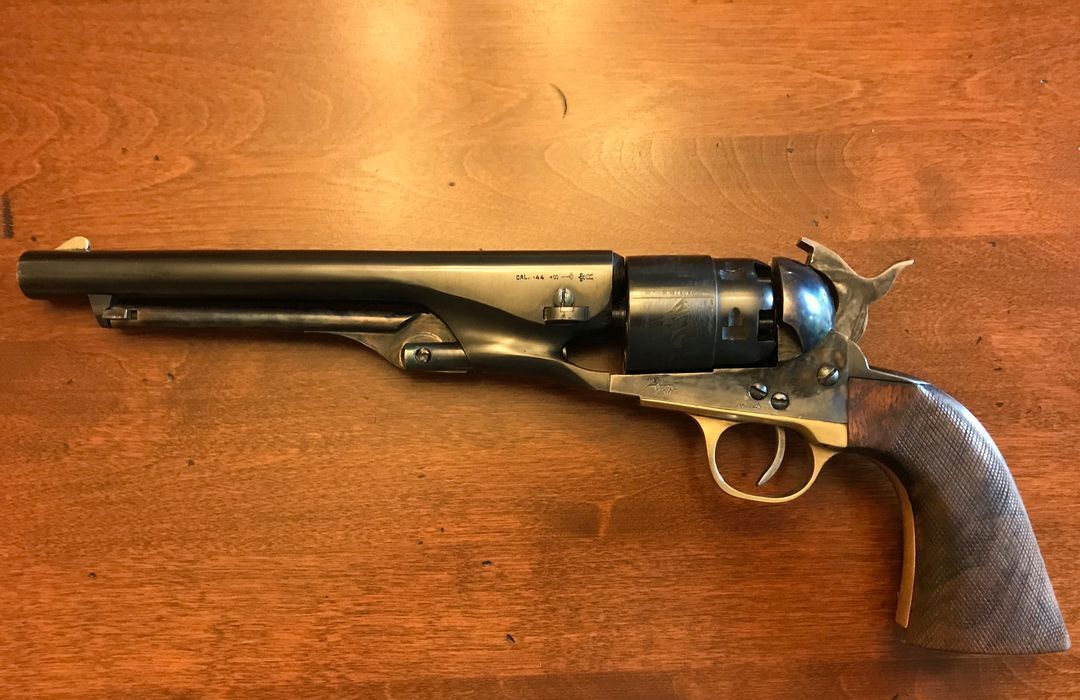
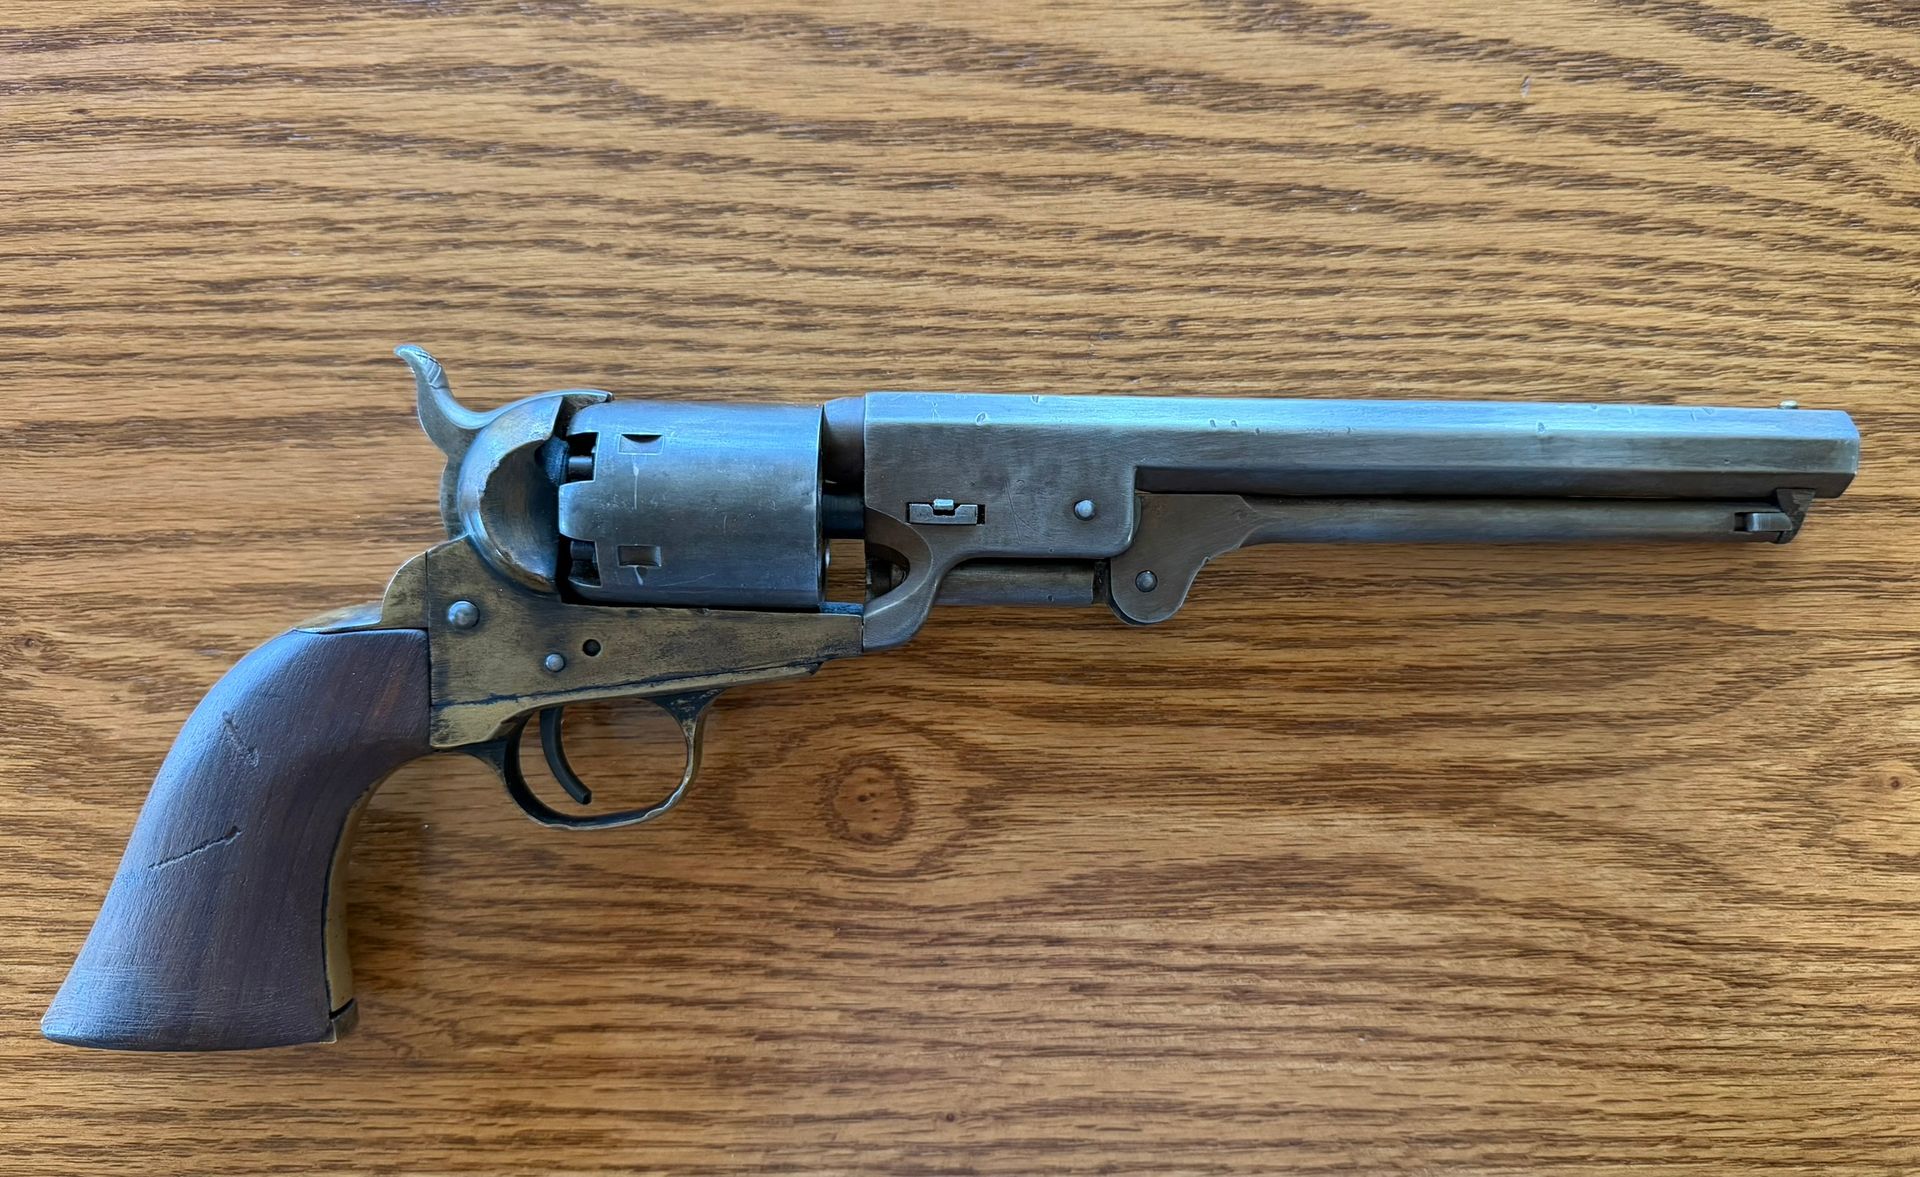
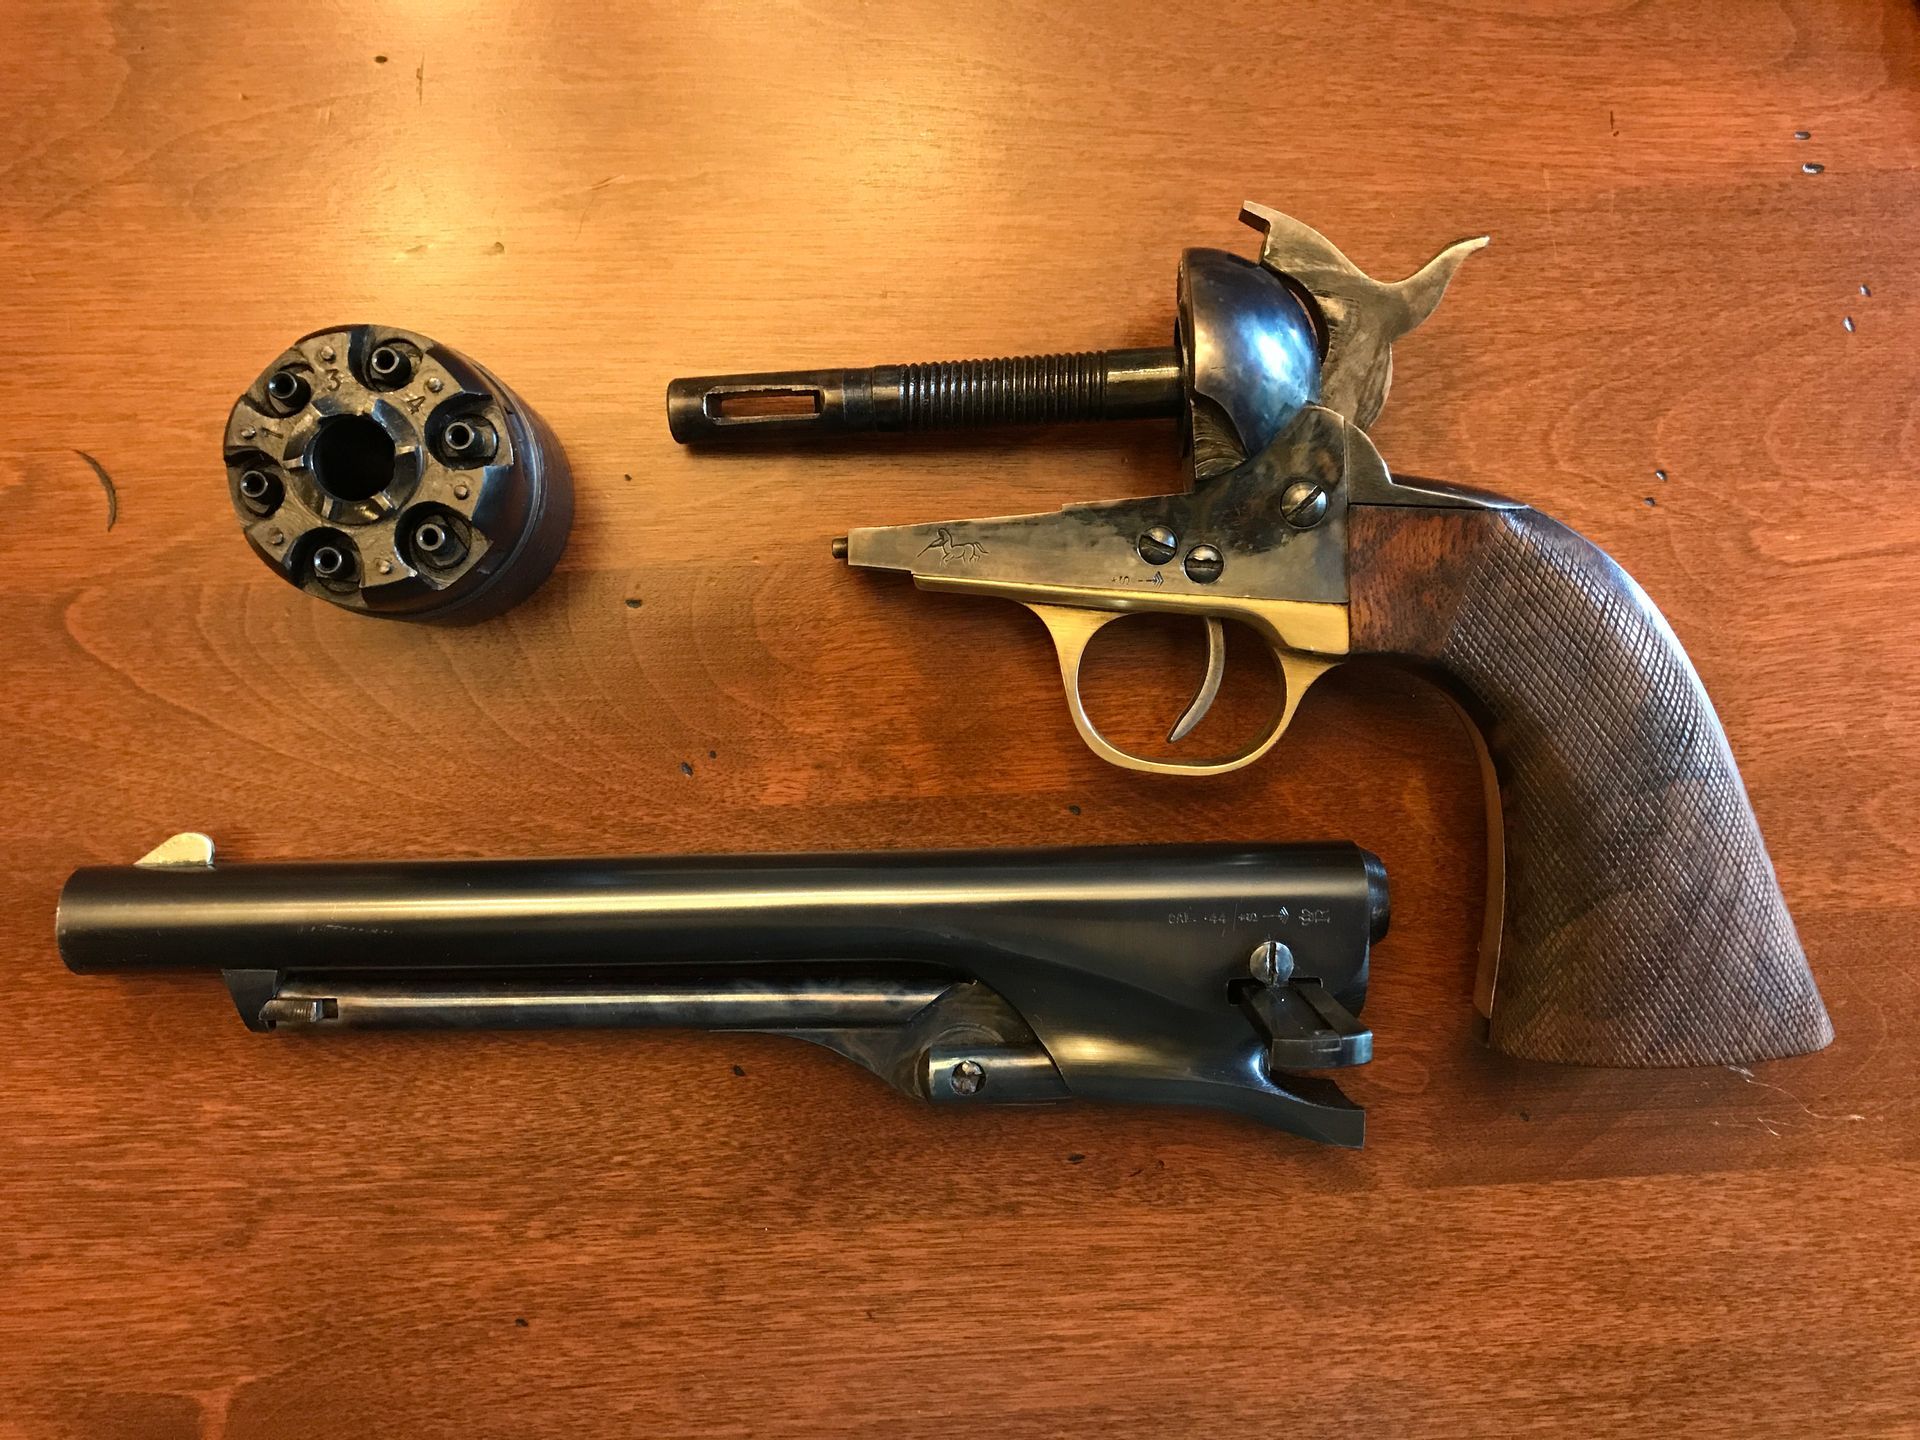
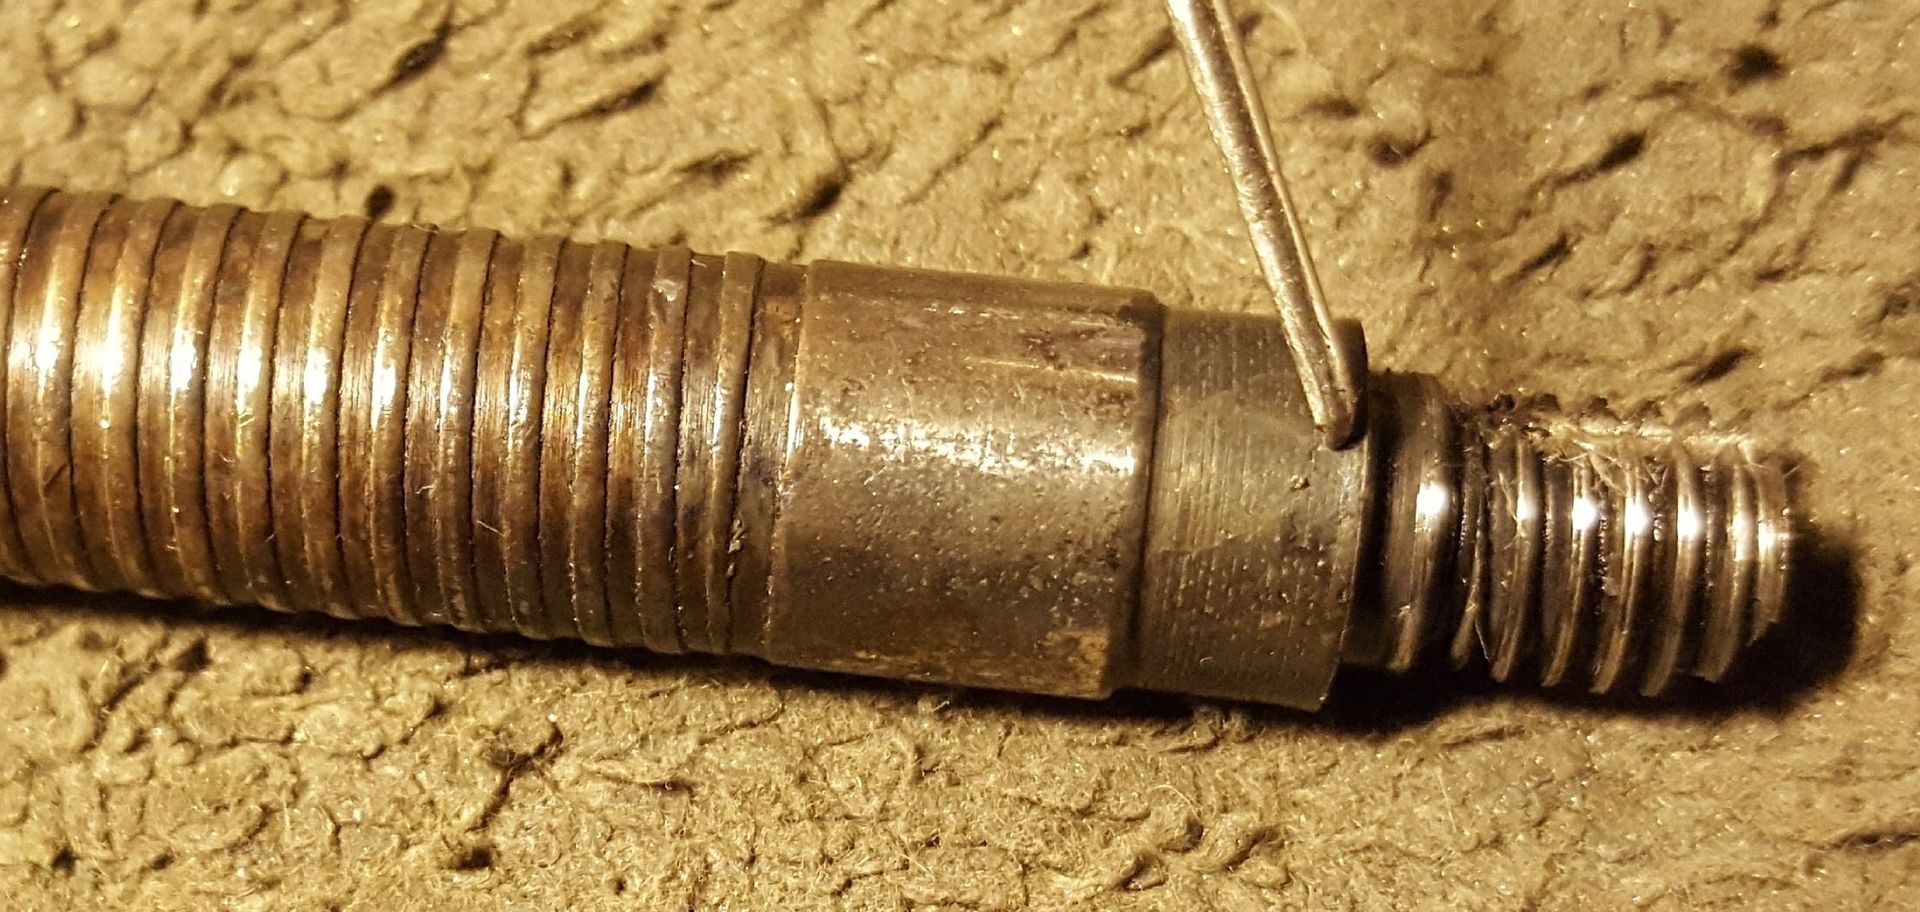
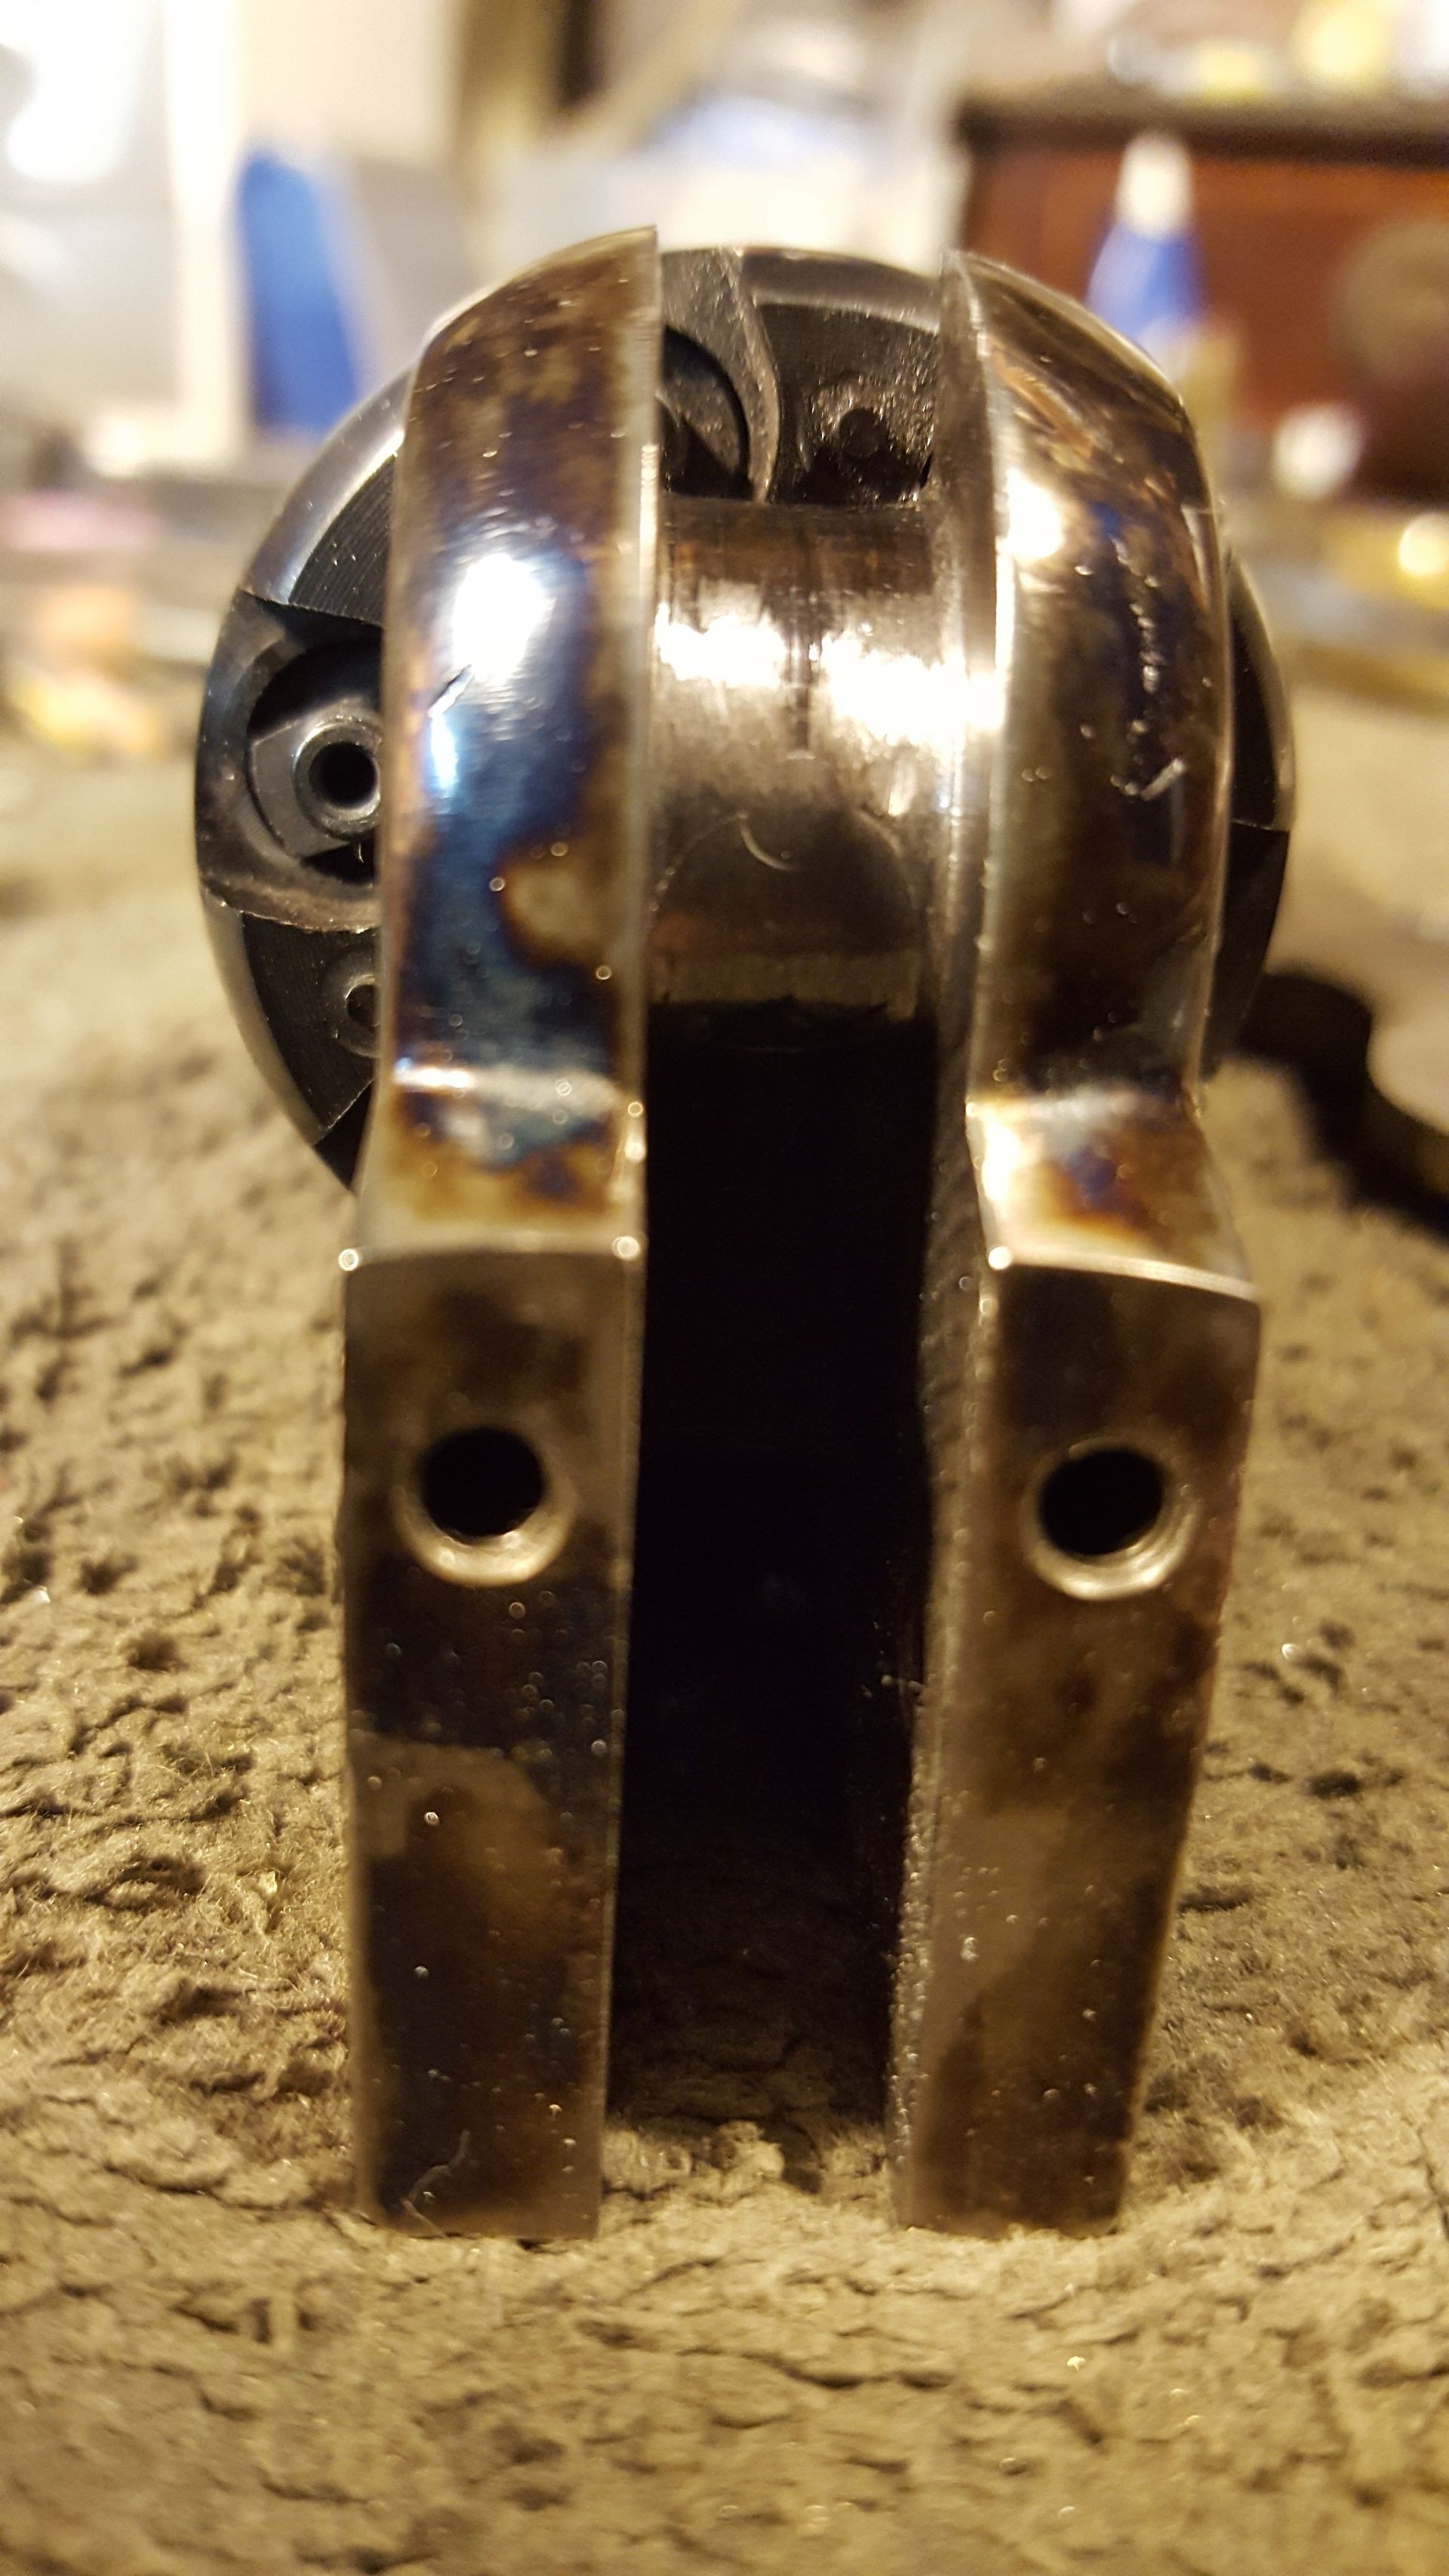
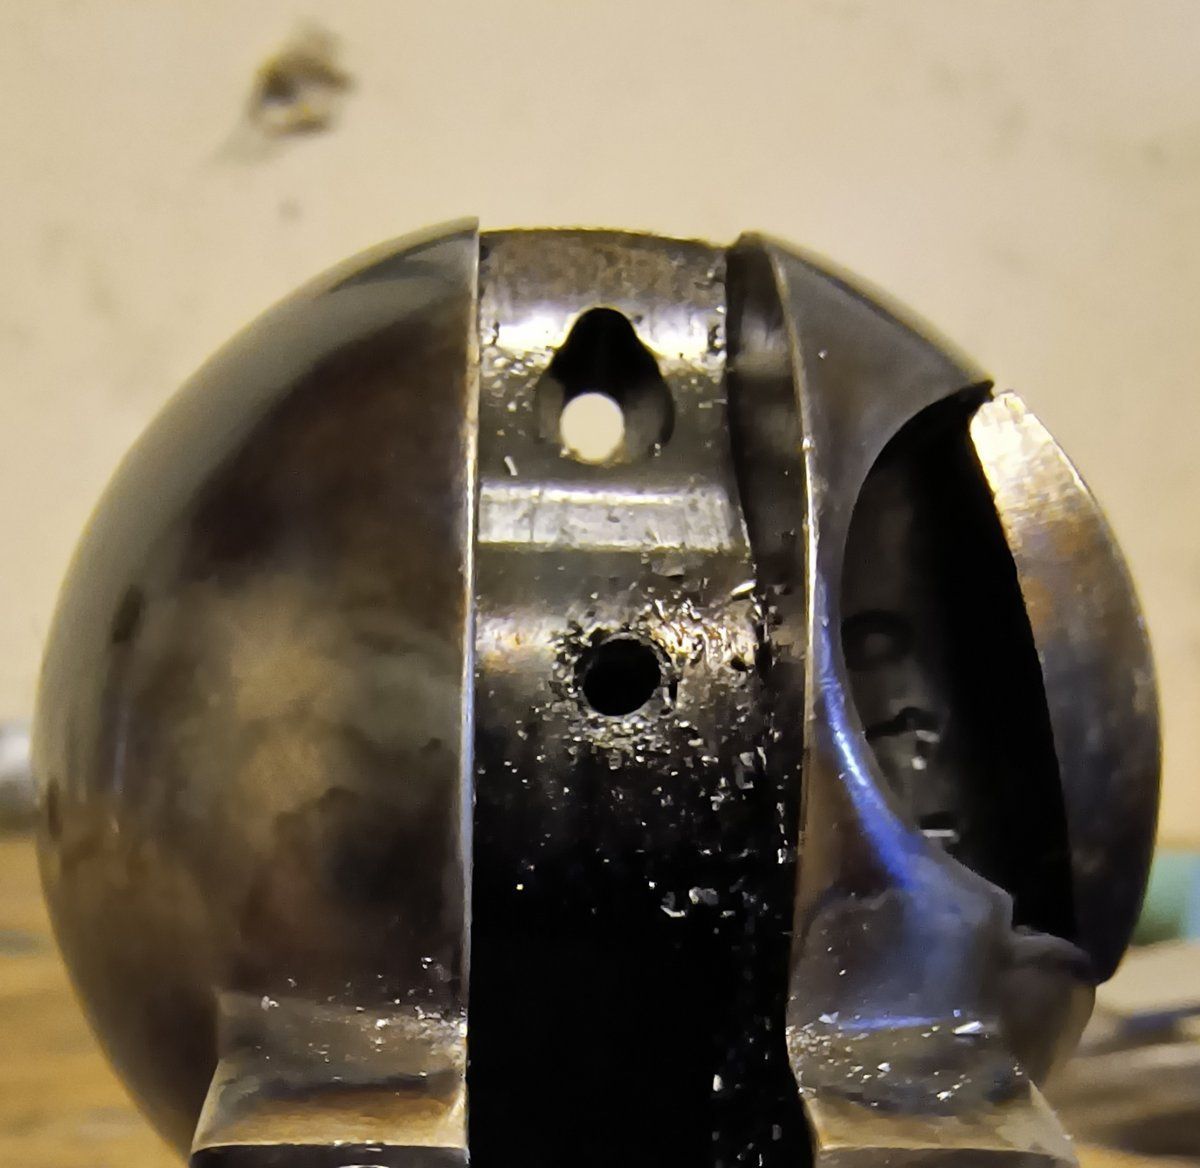
- Locate the Pin: Identify the transverse retaining pin at the rear of the frame (usually driven through the frame and arbor threads). (Fig. 1)
- Drive Out: Drive the pin out (typically left-to-right, but check your specific model; some Piettas use a blind pin or purely friction fit, though most have a visible pin). (Fig. 2)
- Unscrew: Remove the arbor. If it is loose, it may unscrew by hand. If stubborn, use a strap wrench or a padded vise on the unthreaded shaft—never use pliers that will mar the surface.
2. Clean and Prep
- Degrease: Thoroughly clean the frame threads and arbor threads with acetone or brake cleaner. Remove all old oil, grease, and factory thread locker.
- Dry Fit & Index Check: Screw the arbor back in dry until it bottoms out against the frame shoulder. Check the alignment of the wedge slot.
- Scenario A (Over-rotation): The arbor tightens, but the wedge slot rotates past vertical (e.g., to 1 or 2 o'clock). Fix: You must fabricate a thin metal shim (washer) to place between the arbor shoulder and the frame to stop rotation exactly at vertical.
- Scenario B (Under-rotation): The arbor tightens before the slot reaches vertical (e.g., 10 or 11 o'clock). Fix: Carefully face off the rear shoulder of the arbor (using a lathe or meticulous filing) to allow it to screw in further until the slot aligns perfectly.
3. Final Assembly
- Apply Locker: Apply a high-strength thread locker such as Red Loctite (271) or Rocksett to the threads.
- Torque: Screw the arbor in until tight and perfectly indexed (wedge slot vertical).
- Re-Pin:
- If the original pin hole aligns perfectly, reinstall the pin (add Loctite).
- If the hole alignment has shifted due to re-indexing, you must run a reamer or appropriate drill bit through the assembly and install a slightly oversized retaining pin to ensure a solid mechanical lock. (Fig. 2)
Method 2: The Set Screw Modification (The "Gunsmith" Fix)
This is often preferred by competitive shooters (CAS) because it positively locks the arbor threads against the frame without relying solely on the transverse pin or thread locker, allowing for easier future removal. This method is a bit more complicated and may require a trained gunsmith to perform.
1. Drill the Frame
- Remove the trigger guard and loading lever assembly.
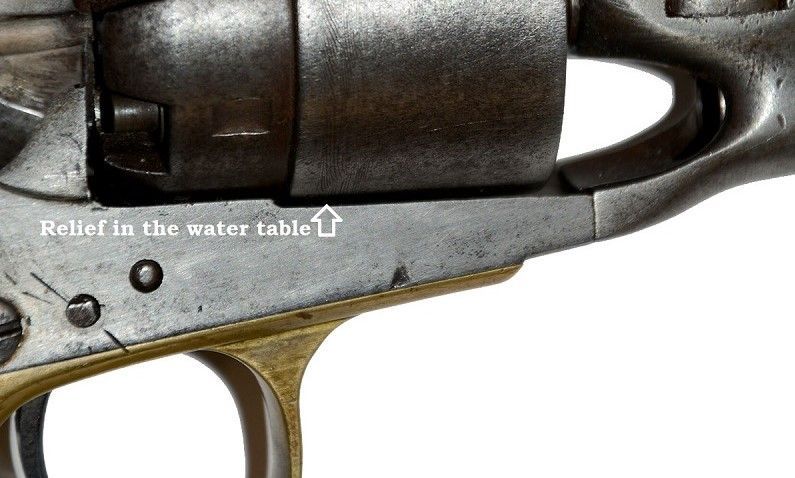
- In the water table (the flat milled area on the bottom of the frame, forward of the trigger guard), locate a spot centered under the threaded portion of the arbor hole.
- Drill a hole vertically through the water table into the arbor thread channel. (Size depends on your chosen screw, typically for a #6-32 or #8-32 set screw).
2. Tap the Hole
- Tap the hole with the appropriate bottoming tap.
3. Install the Arbor
- Follow the Clean and Prep steps from Method 1 to ensure the arbor threads are clean and the shoulder allows for perfect indexing.
- Apply Blue Loctite (removable) or Red Loctite (permanent) to the arbor threads if desired, though the set screw makes this less critical.
- Screw the arbor in until it is tight and the wedge slot is perfectly vertical.
4. Lock it Down
- Insert a hardened Allen-head set screw into your new hole in the water table.
- Tighten it firmly. The screw will bite into the threads or the shank of the arbor, pushing it upward and locking it aggressively against the frame threads.
- Optional: For a non-marring fit, drop a small piece of lead shot or brass rod into the hole before the set screw to act as a buffer between the screw and the arbor threads.

Ensure that after this repair, your barrel assembly still seats fully against the frame (water table/pins) before the end of the arbor bottoms out in the barrel hole. If tightening the arbor into the frame moved it backward (deeper into the frame), you may have inadvertently created a short arbor situation. Verify by assembling the barrel without the wedge; if there is a gap between the barrel and frame when the arbor bottoms out, drop a small shim (washer) into the barrel's arbor hole to restore proper contact.
Social Media