Tuning Up a New Replica Colt Open Top Revolver
Optimizing the Performance of a New Colt Open Top Revolver
I have spoken often on the percussion revolvers with emphasis on the Piettas and Ubertis which center on the Colt replicas. Most gunsmiths today who work mainly on the cowboy revolvers will tell you this "theory". Pietta will have good fitting arbors and poorly fitted bolts. Uberti will have poorly fitted arbors and good fitted bolts. That is a broad statement and does not always hold true for every revolver they make. But if you have an Uberti with a short arbor, and you think it shouldn’t, at the end of this article is a link to the PDF file on Tuning Colt Open Top Revolvers which includes the Arbor Repair instructions.
Most folks are afraid they will mess up the revolver if they work on them. These revolvers right out of the box are usually very stiff and sound like a tank when cocking the hammer. These revolvers are replicas of guns made when it was a simpler world. They do not have safeties per se and are not complicated in the way they are made. They are a part of this country's history.
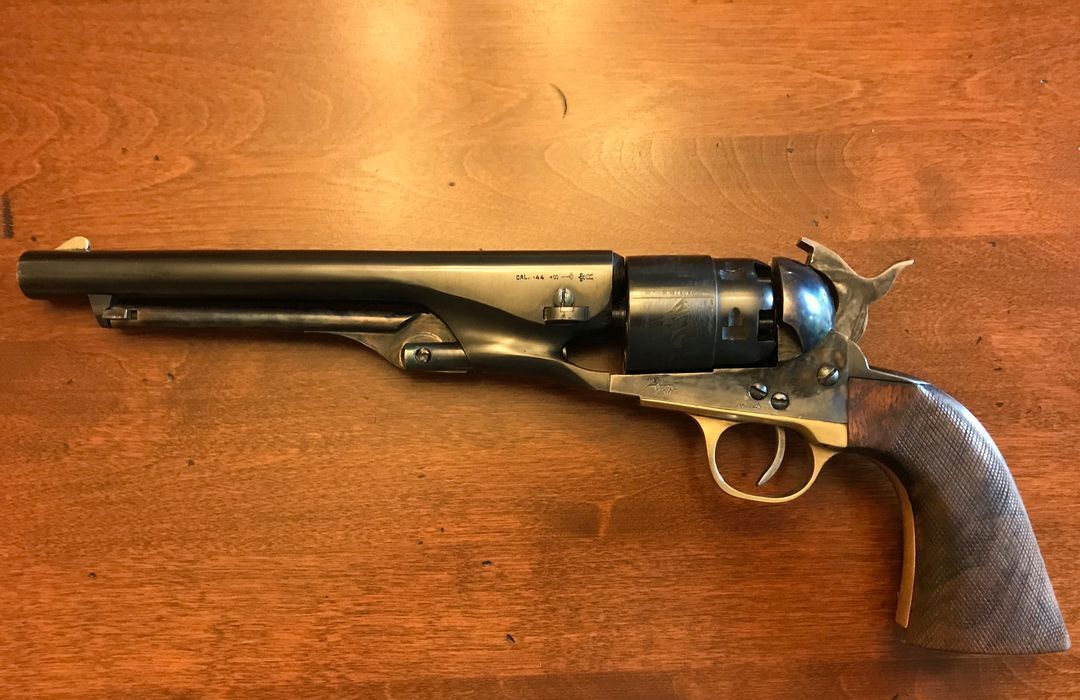
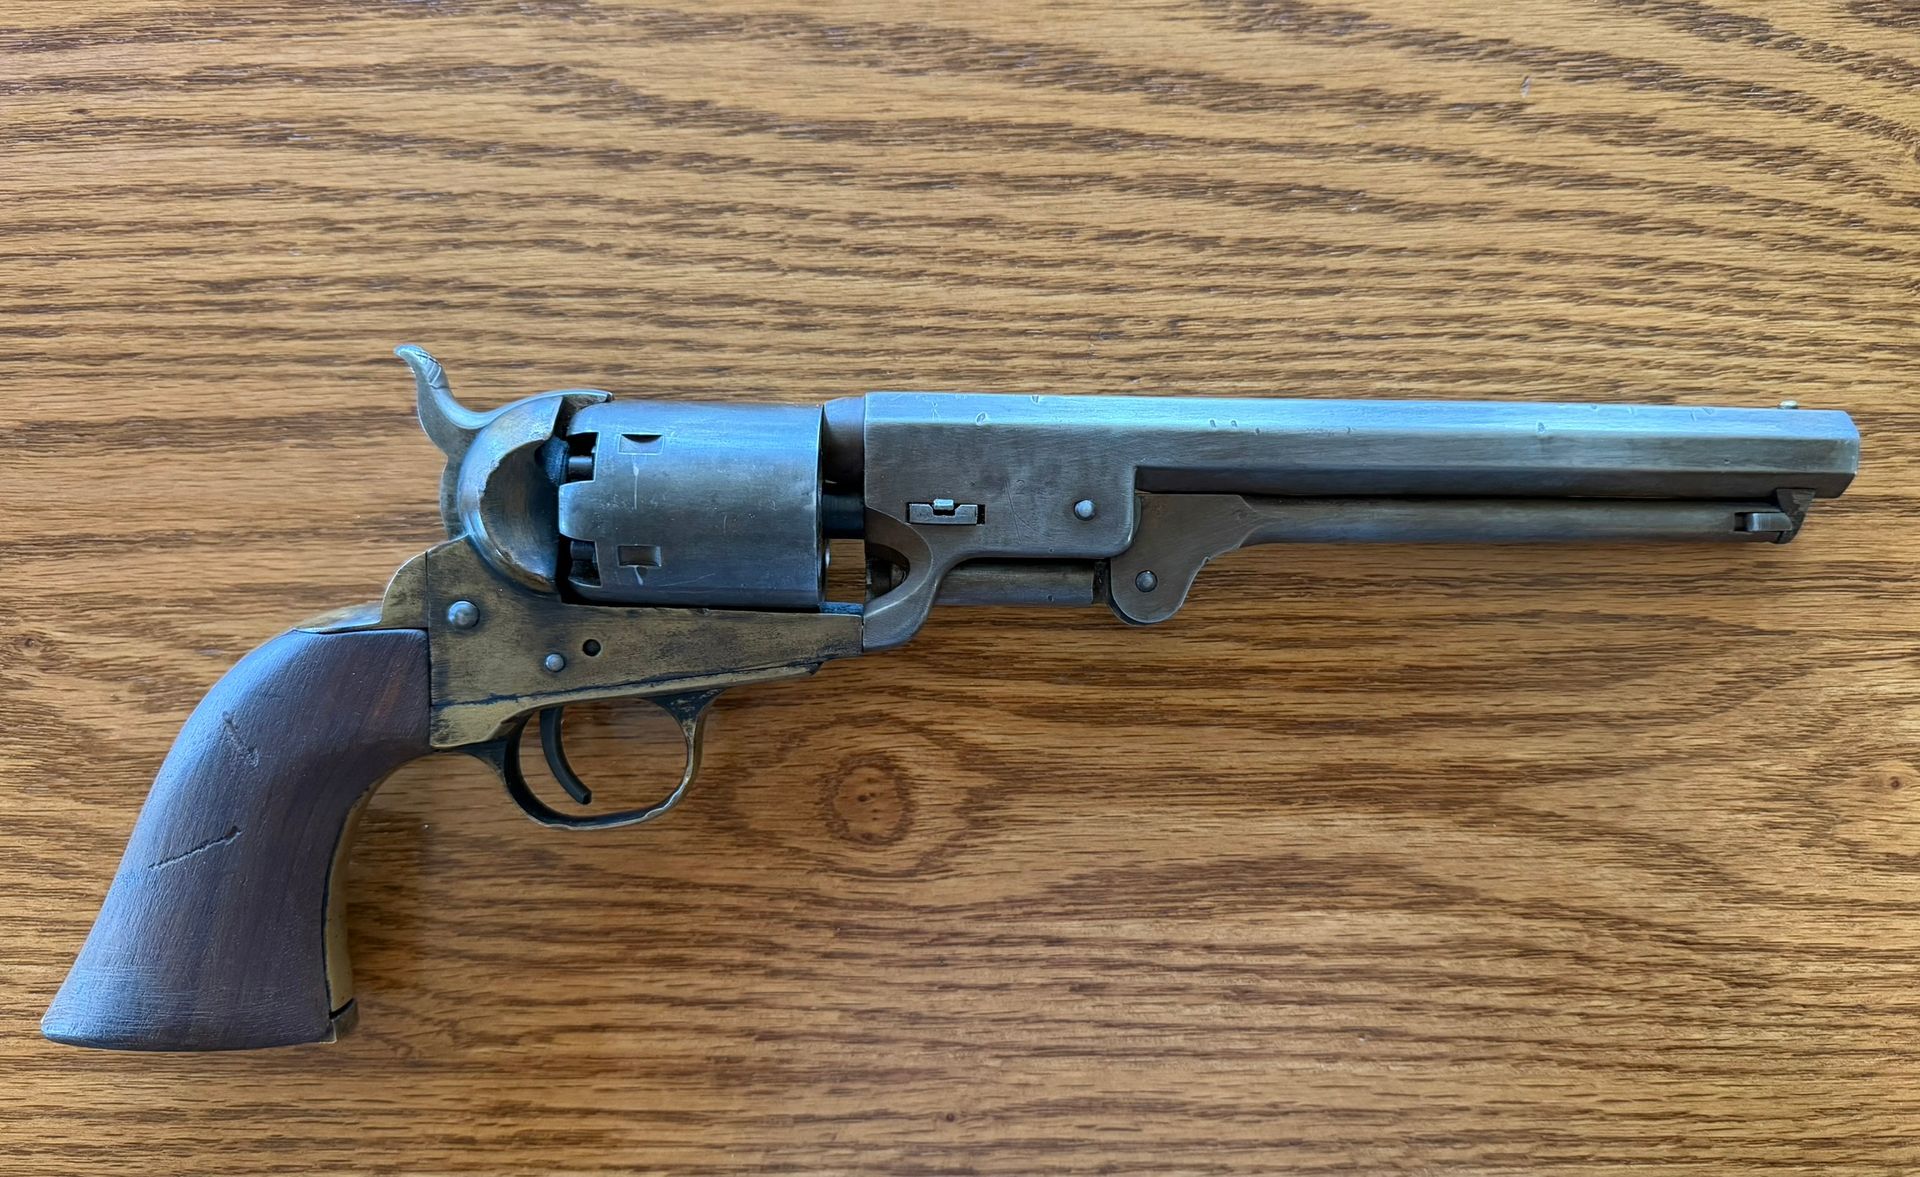
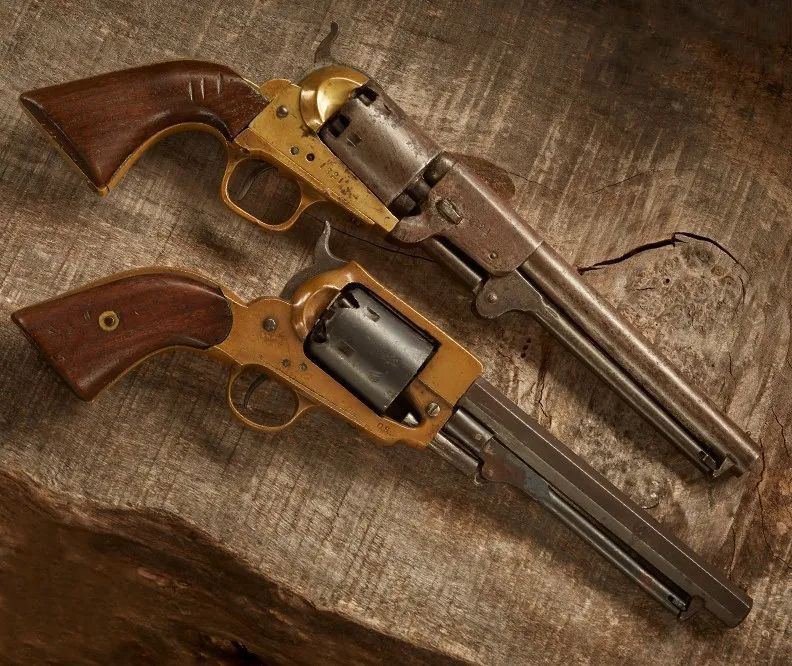
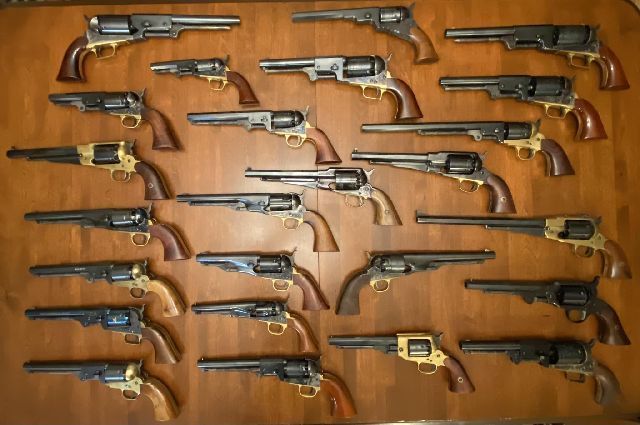
When I speak of Colt replicas, I am referring to the 1847 Walkers, 1848 Dragoons (1st model/2nd model/3rd model), 1849 Colt Pocket Pistol, 1851 Navies, 1860 Army, 1861 Navies and last, but not least, the 1862 Police and Pocket Navy. Uberti seems to stay within the bounds of being period correct for these revolvers where Pietta tends not to. Historically speaking there never was an 1851 Navy in 44 Cal. Nor an 1860 Army brass frame. That is a Pietta thing. Sam Colt never made any brass frame percussion revolvers, but Pietta does. My comments regarding the brass frame revolvers is that if you shoot a lot of heavy, hot loads, the brass frames will not hold up. The arbors may work loose, and it is near impossible to correct this once it happens. That being said, let’s turn our attention to tuning these factory fresh open top replica revolvers.
This article is on Tuning the Colt Open Top Revolvers so that it is a more enjoyable revolver to shoot. This will apply to all the Colt Open Top revolvers that are Uberti and Pietta regardless of the caliber. The first thing as a new owner of a percussion revolver is to thoroughly clean it right out of the box. If the revolver is a Pietta, I would recommend that you do not cock the gun until you check to make sure the bolt fits all the cylinder bolt notches in the cylinder.
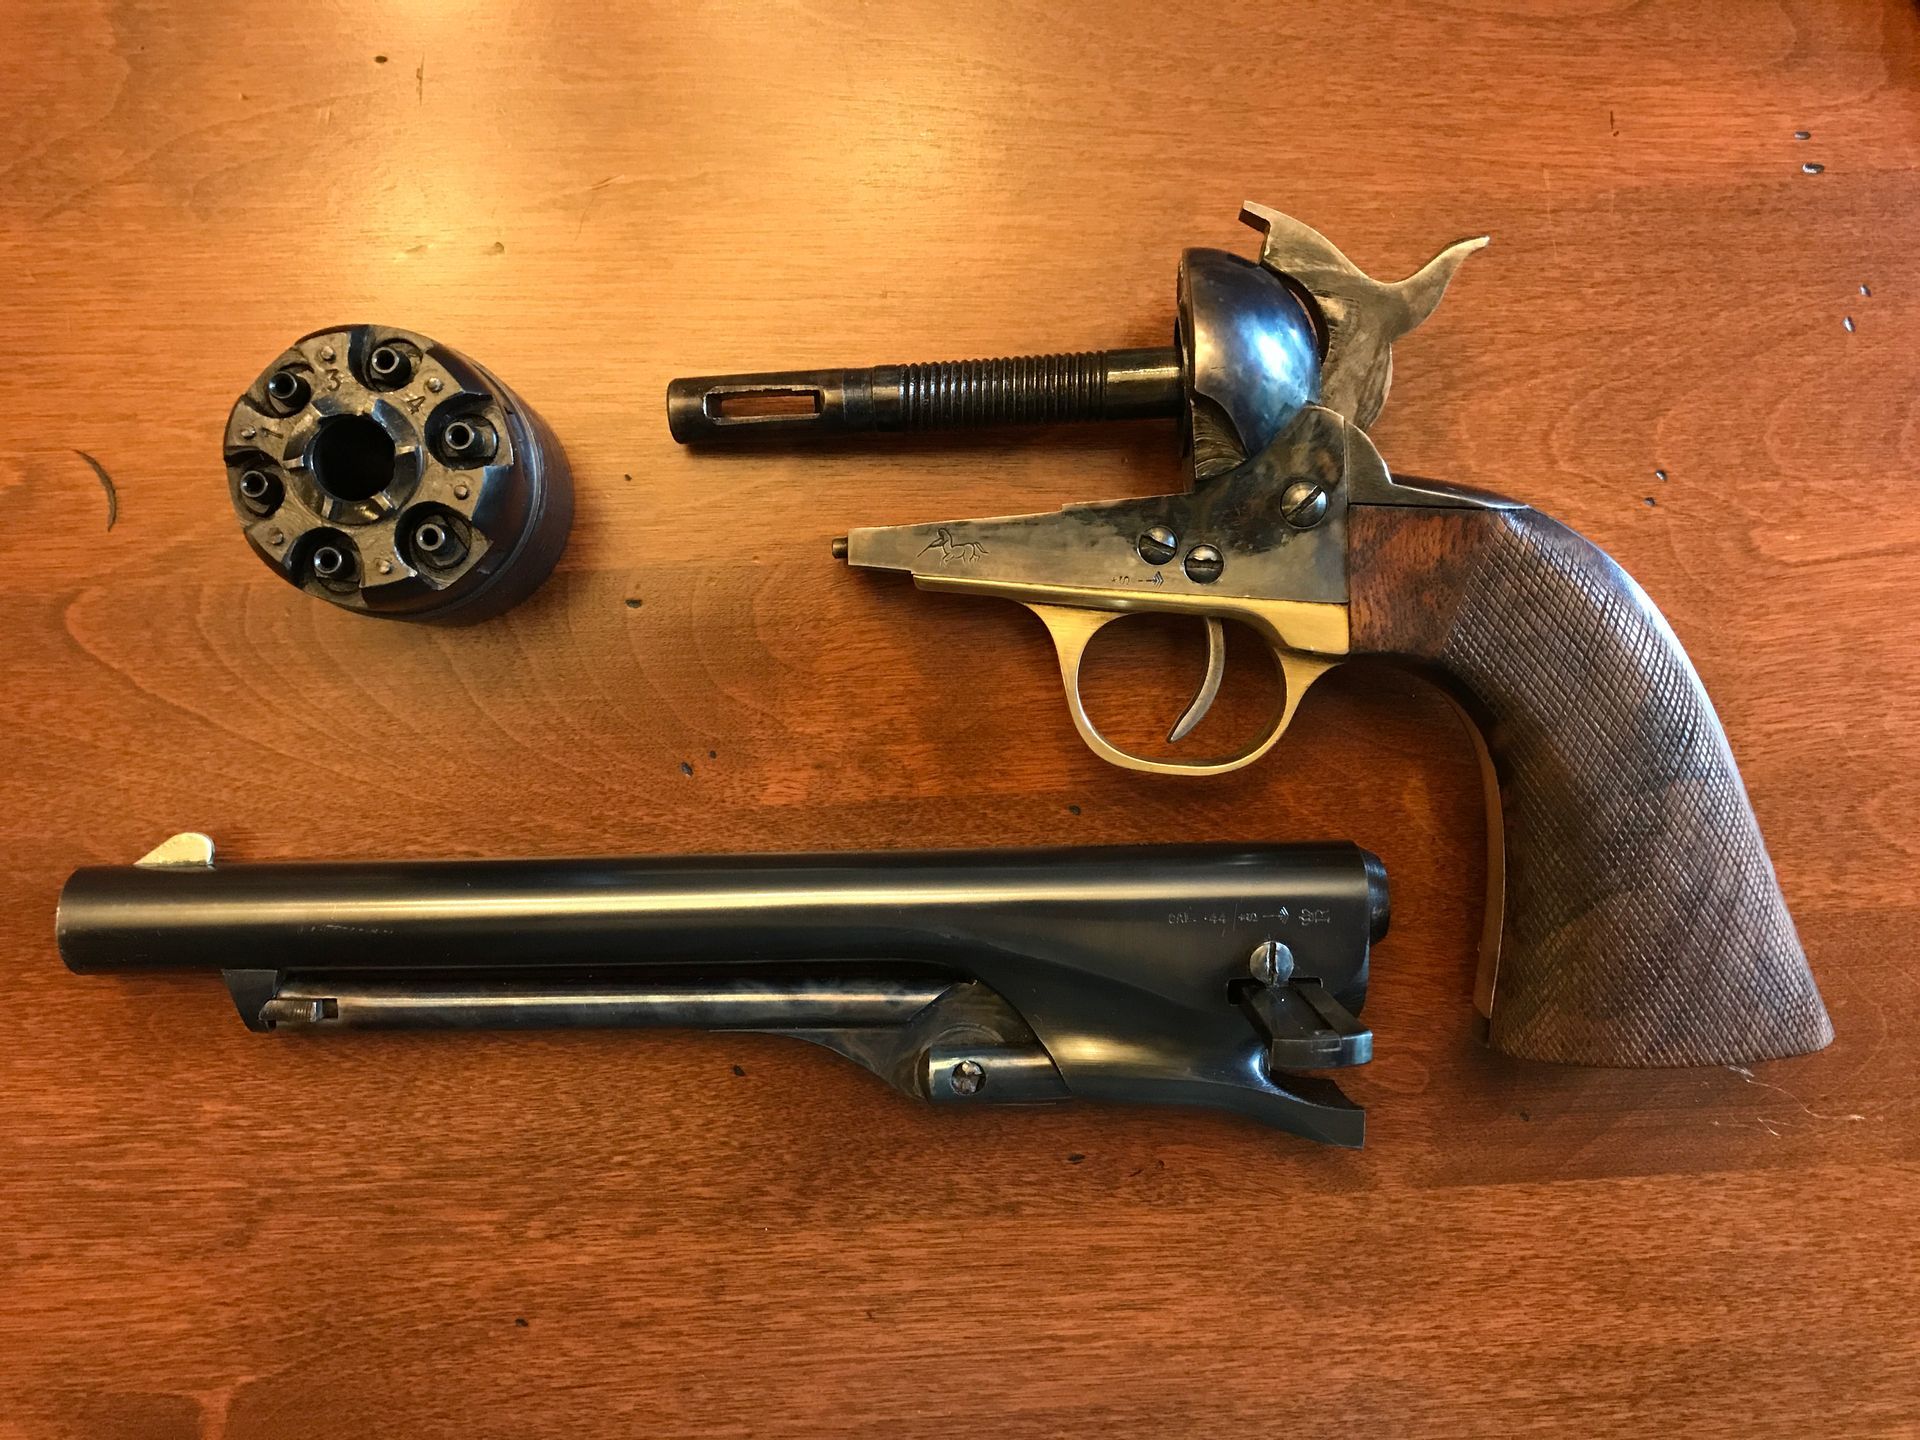
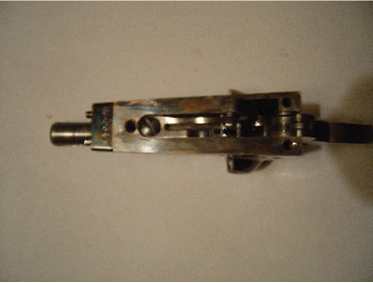
Learn the parts and know what each part does in the functioning of this revolver. Nothing complicated. The revolver consists of a barrel / frame / grips / trigger guard / a wedge / assorted screws / the action consists of a hand with spring, bolt, trigger, trigger/bolt spring, hammer with trigger notches half and full cock and a sear / cylinder / arbor / loading lever / rear sight (V cut into the hammer) front sight will be a brass blade or brass post or a steel blade.
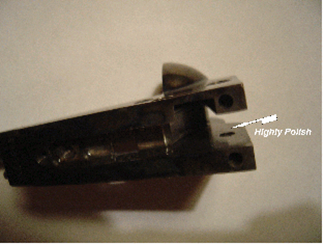
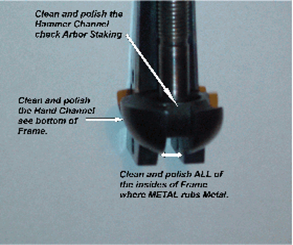
After cleaning the revolver completely. Do the following: Take a pair of old panty hose and check parts for burrs and rough-cut machine marks. Use a flat Diamond File and Clean out the hammer well channel. Both Uberti and Pietta, where the arbor is pinned in, will sometimes protrude enough to keep the hammer from seating itself in the hammer channel. Then take the file and lightly dull all the sharp edges of the hammer channel. Cut a piece of wood so that it is just a wee bit smaller than the Hammer Channel and make sure it has a flat side. We will wrap all the different grits of sandpaper on this piece of wood to polish the hammer channel. We will start with 100 grit and work up to 2000 grit for polishing the hammer channel. Cut another piece of wood to fit inside the frame where the hammer rides to include that area of the frame where the two humps are. We want to polish the inside of the frame ridding it of machine marks and burrs. Cut a piece of wood that will fit up into the hand channel (where the hand protrudes beside the arbor) and make sure this wood is a wee bit smaller than the hand channel. Start with 100 grit and work up to 2000 grit for the Hand Channel. While doing this, check to make sure the hand is not hitting the arbor when you cock the revolver. If the hand does hit the arbor, remove metal from the side of the arbor where hand is making contact. Do the same with the sandpaper grits. We want the inside of the frame to be slick. Wherever you have metal rubbing metal, you want these areas to be highly polished.
The next part we will work on is Hammer. We want to highly polish the sides of the hammer and the curve of the hammer that enters the hammer channel to the frame. Most of the hammers will have a detent where the arbor tip meets the hammer channel. We want to remove this detent and highly polish the hammer. Check the half and full cock notches on the hammer to make sure there are no burrs in these cuts. Do not polish or change any of the sear notches on the hammer. The sear is that round cut wedge on the lower left side of the hammer. Just check the sear to make sure it does not have any burrs on it. Lightly rub it with 400 grit sandpaper. When polishing the hammer sides, you will be removing the case hardening color. We will talk later this. If you look at the hammer face that strikes the cap you will see a slot cut in the hammer face, fill this slot with JB Weld and let dry for at least 24 hours. Once the JB Weld is dry we want to file the face down so that it is about .001” to .003” from the cap when the trigger is pulled. You will make this adjustment after reassembly of the revolver.
The next area of the hammer to remove metal is right below the hammer face. We want to round out the edge of the curve that is next to the hammer face. Once this is done highly polish the hammer face and the curve in the hammer along with the edges that were rounded off. The hammer should look like a new chrome bumper.
(Optional) For the next step, hold the hammer with a needle nose plier in the large hole where the hammer screw goes. Use a propane torch and heat the hammer till the thumb grip (top) turns cherry red. The sides of the hammer and the curve portion of the hammer will change color and give you the appearance of a case-hardened hammer. Drop the hammer into a can of OIL and let it cool. When cooled wipe down for reinstalment.
For avoiding potential cap jambs on these Colt hammers, fill the safety slot with JB Weld. Then highly polish the hammer face.

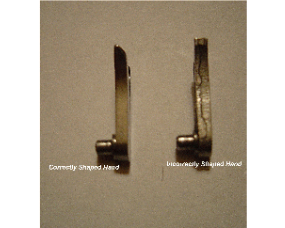
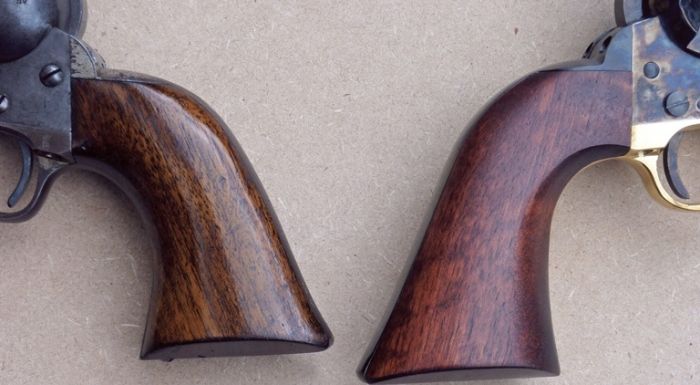
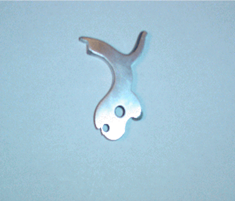
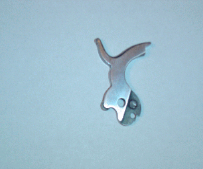
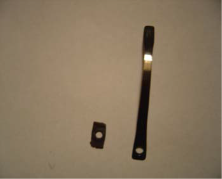
Normally the factory will put a decent cut on the hand, but it will be rough. The Hand has a curved portion, and this is always a very rough cut. Using a Dremel Tool with a 120-grit sandpaper roll we want to smooth out the curve of the hand. Do not change the angle of the curve, just smooth it out. Next, we want to polish the sides of the hand so that it looks like a new chrome bumper using the sandpaper grits stated above... 100 to 2000 grit. Use 350 grit to polish the spring, it will normally have burrs on it. The correctly shaped hand face is on the left above. Be sure not to over polish as to change the length of the hand. If your cylinder over rotates then the hand is too long. If the cylinder under rotates, then the hand is too short. More about this when we shape the bolt.
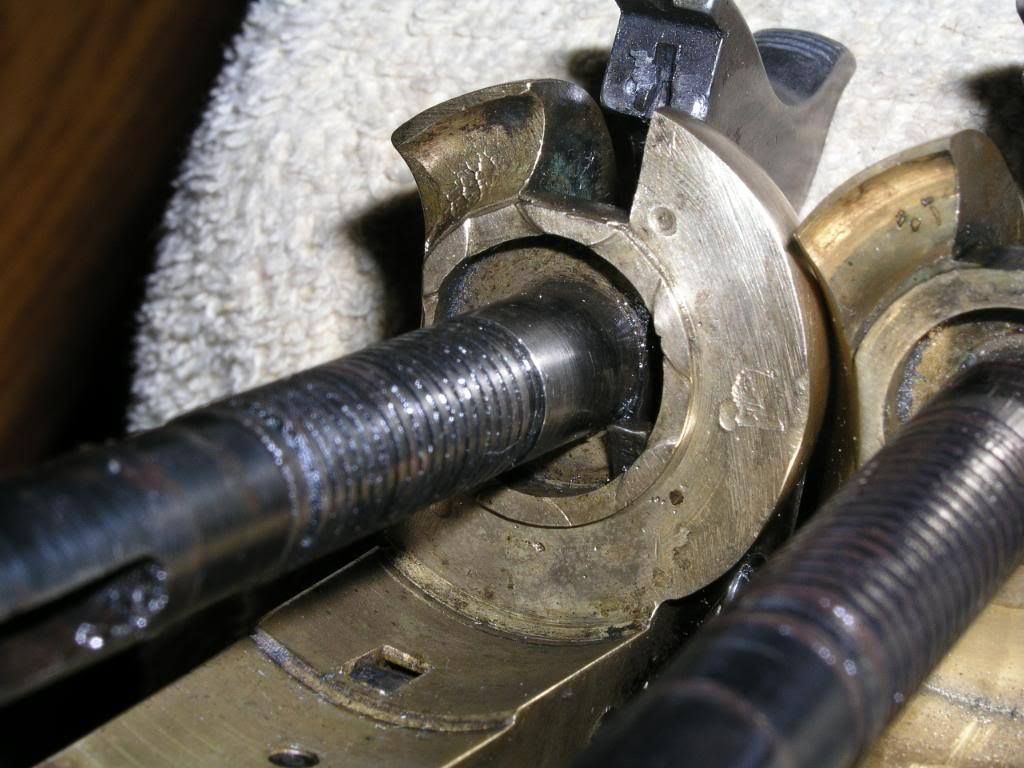
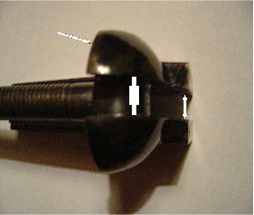
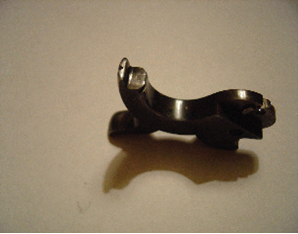
The next item we will address is the bolt. First, we want to make sure the bolt will fit into each bolt notch in the cylinder. This is done using a caliper. Measure the width of the bolt (that round hump that sets on top) ... then using the caliper measure bolt notch width in the cylinder. The bolt should be less than the cylinder bolt notches. Measure all six notches. If the bolt does not have a smaller measurement, remove metal from the bolt on both sides to get it to fit into the cylinder notches. Once this is done, check the angle of the bolt hump. It should be slanted as seen in the picture below. It is slanted this way so that when the cylinder turns when the hammer goes to half cock the bolt drops, and as you go to full cock the bolt starts to rise and engage the ramp that precedes the cylinder notch. At full cock the bolt should lock the cylinder bank vault tight. If it is not doing this then there is a problem with the hand.
Remember, if your cylinder over rotates then the hand is too long. If the cylinder under rotates, then the hand is too short. From the factory, many hands are too long. To shorten the hand if it is too long, use a flat diamond file and remove metal from the top of the hand. Do this a little at a time to get the correct fit. If the hand is too short, lengthen it by using a flat round metal punch. Place the hand on a piece of metal or hard wood, place the punch on the back of the hand under the spring and use a hammer with medium to soft hits to lengthen the hand. Once you have the hand and the bolt working in unison whereas the bolt is riding up into the ramp at half cock and going into the cylinder notch at full cock, the revolver is then in TIME. Finish up the bolt by polishing it and on the two arms that stick to the rear, the left arm that engages the hammer sear should be beveled so that it makes a smooth move over the sear.

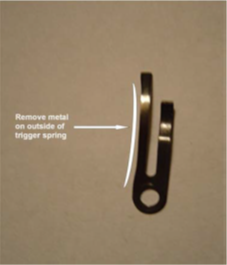
Next check the Trigger. About all that is needed here is to ensure that the trigger will engage the half cock and full cock notches on the hammer. If you want a weaker trigger pull, then take the Trigger/Bolt Spring and remove metal from the left side of the spring to make it look like a half hourglass. A 2 lb. trigger pull is considered a very light trigger pull.
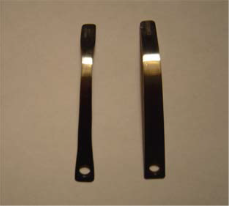
Next, we will address the main spring. Most Ubertis and Piettas will come from the factory with a hammer pull more than 15 to 20 lbs. That is far too much pressure for the thumb. So, we will hourglass the Main Spring. That is to remove metal from each side so that the spring will resemble a hourglass. I use a Dremel with a Stone to do this, but a diamond file will also work. Start about a quarter of an inch above the screw hole and remove metal on each side up to about a half inch from the tip. This is a remove a little and check process. If you remove too much the spring is worthless. So do a little at a time and check. Checking is accomplished by seeing if it will fire a cap. If you are unsure of yourself doing this there are aftermarket springs you can get, but it is cheaper to do it this way. After market springs will cost about $15 to $20 dollars. In the left photo I show the factory spring on the right and a spring that has been adjusted on the left. I also place a piece of leather under the Main Spring Screw, this helps in lightening the Main Spring. After removing the metal, the Spring is highly polished.
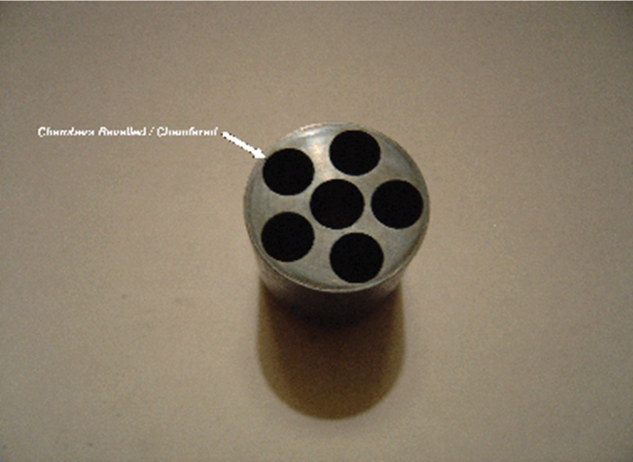
The final step one should do is chamfer the 6 chambers of the Cylinder. This will help when seating the lead ball. For 31 caliber revolvers the shooter should use lead balls in diameter of .320" or .322”. The 36 Caliber revolver should use Lead Balls in diameter of .380". The 44 Caliber revolvers should use lead balls in diameter of .451 to .454". Using lead balls in the diameters will solve any problems with chain firing. There is much debate about whether to use lube over the balls to prevent this. All I will say on this is it is not needed or required. There is no historical documentation by Colt or Remington requiring this. This is a 20th and 21st Century addition. Here is a picture showing a cylinder that has the chambers chamfered. After you chamfer, I would suggest you re-blue the face of the cylinder.
Now that all tuning is completed, re-assemble the revolver and it will surprise you at how easy it is to shoot. To download a PDF copy of this Tuning Guide, click HERE.
Social Media